Science Lesson: Fossils
How are fossils formed?
When animals or plants are rapidly buried in layers of mud during a natural catastrophe, their bodies are protected from normal processes of decay: scavengers, bacteria, and chemicals are prevented from breaking down their bodies at the usual rate. The hard parts of the animals (such as their bones, teeth, and shells) are eventually replaced with minerals from the mud, which turn them into rock. The soft parts of the specimen, such as the scales of a fish or the leaves of a plant, sometimes leave a colored imprint in rock before they eventually decay. Trees or other organic matter that are covered with silica-rich water become petrified—they turn into solid mineral. This is called fossilization.
Fossils are most commonly found in limestone, shale, and sandstone, all relatively soft rock that erodes more easily than most rocks do. As the rock gradually wears away, the fossil layers within it are exposed.
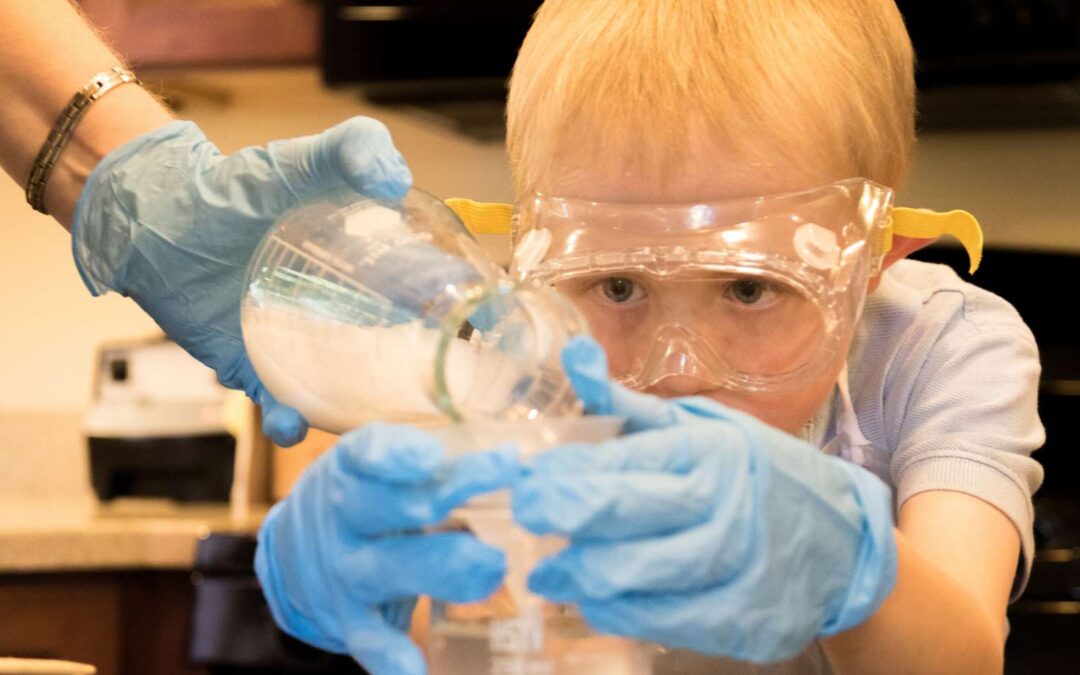
One enjoyable way of demonstrating how fossils are made is to make fossil casts. Start with a clean tuna can or styrofoam bowl and fill it to a depth of about 1′ with modeling clay. Then press a plastic animal, rock, or other object halfway into the clay. Remove the object, leaving a clean imprint in the clay.
Next, mix 1/4 to 1/2 cup plaster of paris with water until the consistency is similar to pancake batter. Pour the plaster into the can over the clay, filling the imprint and covering the bottom of the can to a depth of about 1′. Let the plaster dry for at least 24 hours before removing it from the can. Separate any remaining clay from the plaster and you have a ‘fossil’ of the object.
A paleontologist is a scientist who studies fossils to find out more about extinct species or about any species that are evident in the fossil record.
Science Lesson: What Did Dinosaurs Look Like?
What did dinosaurs look like? If you hear the word ‘Stegosaurus’, what picture immediately comes to mind? What about ‘Tyrannosaurus’? ‘Brontosaurus’? You’ve probably seen illustrations or models of many different dinosaurs: gigantic creatures with long necks and tails, stocky creatures with hard heads and horns or fierce teeth, and even swimming dinosaur-like creatures! But have you ever wondered what scientists really know about an extinct species? What they looked like? What they ate? How do scientists find out that sort of information?
Complete dinosaur skeletons are rare; usually a paleontologist has to piece together a fragmented skeleton and use the available parts to try to determine the way the full skeleton would look. Sometimes, fossilized skeletons get put together wrong—the case of the Brontosaurus is an example of this. The Brontosaurus, perhaps the most famous dinosaur after the T. rex, is really an Apatosaurus, with the head of a Camarasaurus. However, the name Brontosaurus is still the most popular.
Dinosaurs are a tricky thing to study, since the evidence about them is limited. It’s easy to confuse where science ends and assumption begins—forming theories is part of a paleontologist’s job, but theories should not be accepted as fact when based on insufficient evidence. Good science is careful to go no further than the evidence, clearly distinguishing between theory and facts. The pictures we see of dinosaurs are models based on the best idea scientists have of them.
Scientists base their assumptions about dinosaurs on fossilized bones, claws, teeth, bony plates, eggs, dung, and footprints. They also consider characteristics of similar animals, such as living reptiles. Even this evidence can be tricky to decipher, though: for instance, giant pandas and some other mammals have sharp teeth, yet are herbivores, so sharp teeth on a dinosaur does not necessarily preclude the possibility of it eating primarily plants.
You can demonstrate to your kids how easy it is to make wrong guesses about what an animal looks like based on its bones. Using a picture of a skeleton, have your children draw what they think the bones would look like assembled. Then draw what they think the live animal looks like. Count the vertebrae, toes, etc.; can they tell how many of each body part the animal has? What do they know for sure about the animal?
Don’t tell them until after they’re done that the skeleton actually belongs to a mouse. How close were their guesses to the truth? In the same way, good scientists do their best to imagine accurately from the evidence, but cannot always be certain they are headed in the right direction.
Science Lesson: Frozen Mammoths, Mummified People
Fossilization isn’t the only way for a creature to be preserved. Natural preservatives such as ice, sand, and peat bogs have kept the bodies of both animals and people from decaying, making them records of ancient times in a similar way as fossils.
Extinct mammoths and mastodons belong to the same order as the two living elephant species: Proboscidea. Mammoth bodies have been found in Siberia and other places, frozen and so well preserved that in at least one instance their meat was given to sled dogs to eat! The ice that the mammoths were ‘buried’ in worked like a giant freezer, effectively keeping the bodies from decaying. Mammoths most likely were not able to survive entirely in a land of snow and ice, based on the evidence of living elephants, who have to eat a huge amount of plants every day in order to stay alive. Mammoths were about the size of an Indian elephant at the largest, and some were smaller. (Male Indian elephants are about 9′ at shoulder height and weigh five tons; females are smaller.)
People can also be preserved, as mummies. In Egypt, the first mummies were accidental—bodies buried in hot, dry sand naturally mummified. Later, embalmers removed a person’s organs immediately after death, so that the body would not begin to decay. They washed the body and then dried it out with a salt called natron. (Natron is a mixture of sodium bicarbonate—baking soda—and sodium carbonate.) After the body was dry, it was anointed with scented oils and then covered with resin for further preservation. For the final touch, the body was wrapped in cloths, placed in a sarcophagus, and then sealed in a tomb.
Not all mummies were preserved on purpose the way ancient Egyptians were, though. The ‘Bog People’, found in locations throughout Europe, are well-preserved bodies that did not decay, due to properties of the peat bogs they were found in. The sphagnum moss in the bogs works as an antibacterial, and the bog itself is an anaerobic environment which helps prevent decay and ‘tans’ the bodies of the Bog People like leather. Some of the bodies are thousands of years old, and many still had clothes and other personal effects with their bodies when they were found.
You can demonstrate how mummification works, using some fruit or other food and a bag of salt. First, show your children how grapes and plums look compared to raisins and prunes. The dehydration process in Egyptian mummification caused somewhat similar results! Pick out the kind of fruit that you want to ‘mummify’ and put in a container, then cover it with salt. You’ll need to let the fruit sit for two or more weeks before it’s dried all the way. If you’d like to compare mummification to the freeze method, put one of the same kind of fruit in the freezer for several days and then compare it to the salt-dried fruit. How are they different? Which seems most helpful for scientific study?
The Scientific Speaker
Dinosaur comes from the Greek deinos (‘monstrous’ or ‘terrible’) and sauros (‘lizard’). The name was first used by the British scientist Richard Owen in the 1840s; he classed the three then-known species as Dinosauria.
Gastroliths are gizzard stones, located in the stomachs of dinosaurs to aid their digestion. The stones helped grind up food that the dinosaurs ate. Some living birds, reptiles, and fish also have gastroliths.
Fossil fittingly comes from the Latin for ‘dug up’.