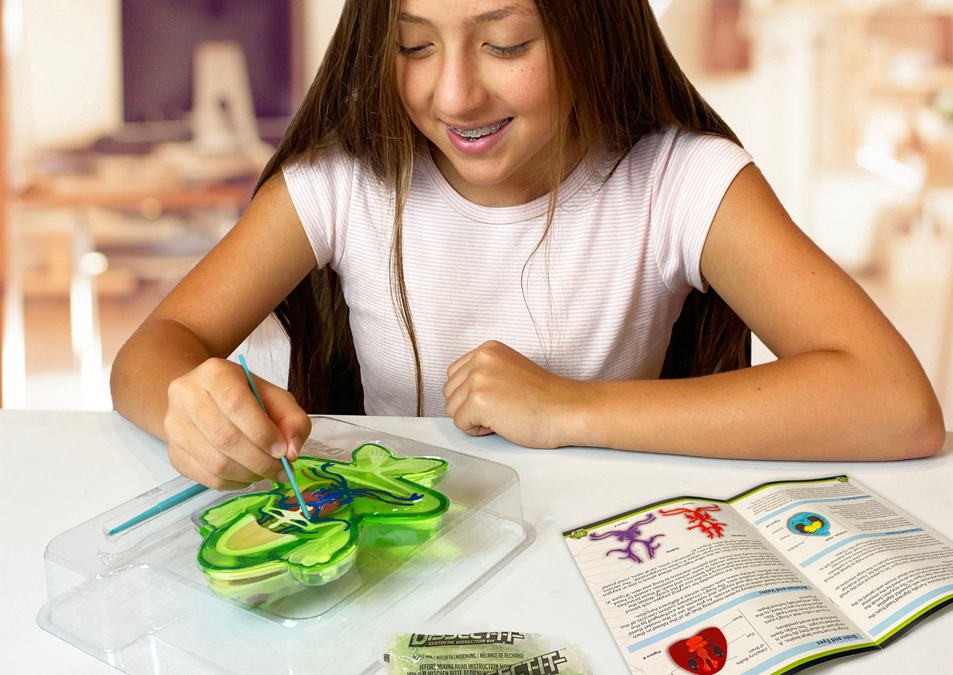
Lab experiments and chemical reactions are one of the most memorable ways to teach and learn chemistry, not to mention a necessary component of high school science. The hands-on learning opportunities provided by doing science projects simply can’t be duplicated through reading and memorization. But while lab lessons are usually fun, there are serious dangers. Whatever chemistry lab equipment you use, it’s important to know, post, and follow safety guidelines when dealing with chemicals to help minimize risks and maximize learning.
Remember: Lab safety starts and begins with you!
Here are a few safety guidelines you may consider implementing in your homeschool or co-op lab. Public and private schools often adopt their own lab safety rules that are more comprehensive, which is necessary due to the larger volume of chemicals and superior storage and handling capabilities in those settings. For most home applications, these will suffice. However, safety is ultimately your responsibility, so you’ll need to determine what adequate safety protocol looks like in your homeschool science lab.
Less is more
Keep only the smallest quantities of chemicals on-hand, as that will help minimize risk potential and facilitate ease of disposal. Buying chemicals from HST helps you keep chemical inventory low, since we only sell bottles of 100 g or less. Every local government has different regulations regarding the disposal of hazardous chemicals. Please call your local Poison Control Center or Waste Disposal Department for instructions applicable to your location.
Read to succeed
As soon as you receive a chemical, read the warning label on the bottle. Each chemical also has an associated Safety Data Sheet, which is a document that explains the potential health effects of exposure to chemicals, as well safe handling procedures. Find the SDS for chemicals purchased from Home Science Tools through a link on the product page. The link opens a pdf that you ought to at least read, but, additionally, you may wish to print and file.
Before beginning an experiment using any chemical, re-read its label and familiarize yourself and your students with potential safety hazards. Also take notice of the colored band (for storage purposes, discussed later) on the label and the small graphic indicating its health hazards. The graphic is called a pictogram and it’s part of a Globally Harmonized System (GHS) of Hazard Communication Standards (HCS). This system is meant to quickly and easily communicate hazards associated with the chemical through an image. Reference the chart below to become familiar with each pictogram and its associated risks. You’ll also find these pictograms on SDS sheets.
HCS Pictograms and Hazards
| Health Hazard |
Flame |
Exclamation Mark |
|---|---|---|
| • Carcinogen • Mutagenicity • Reproductive Toxicity • Respiratory Sensitizer • Target Organ Toxicity • Aspiration Toxicity |
• Flammables • Pyrophorics • Self-Heating • Emits Flammable Gas • Self-Reactives • Organic Peroxides |
• Irritant (skin and eye) • Skin Sensitizer • Acute Toxicity (harmful) • Narcotic Effects • Respiratory Tract Irritant • Hazardous to Ozone Layer (Non Mandatory) |
| Gas Cylinder |
Corrosion |
Exploding Bomb |
| • Gases under Pressure | • Skin Corrosion/ burns • Eye Damage • Corrosive to Metals |
• Explosives • Self-Reactives • Organic Peroxides |
| Flame over Circle |
Environment (Non Mandatory) |
Skull and Crossbones |
| • Oxidizers | • Aquatic Toxicity | • Acute Toxicity (fatal or toxic) |
Dress for the occasion
Even at home, students should dress for success. Treat lab days differently from other days, beginning with how you dress. Wear closed toed shoes when working with chemicals. Long hair should be pulled away from the face and restrained. Avoid wearing dangling bracelets, earrings, or necklaces on lab experiment days. Make sure everyone dons the appropriate personal protective equipment (PPE). Proper lab PPE includes: latex, neoprene, nitrile or heat-resistant gloves, splash or impact goggles, and a lab coat or apron.
Expect the best; plan for the worst
Although no one ever expects an accident to happen, chemical safety in the homeschool lab is best approached with the Boy Scout motto: Be prepared. Clean up spills immediately and discard damaged or leaking bottles. Program the poison control center into your cell phone and post the number with other emergency contact information around your house. In the US, the poison control number is (800) 222-1222. Finally, consider purchasing a fire extinguisher and/or fire blanket, an eye wash kit, and basic first aid kit for your homeschool lab.
Solitary confinement
Store chemicals away from items used to cook and store food, and never use such items for chemical experiments. Keep them on a shelf out of reach of young children. Keep chemicals stored in original packaging (grouped as indicated below), preferably inside another container, such as a plastic bin or baggie that will contain leaks or spills in the event of breakage. Also, take heed of the color storage code on the chemical label and use the following storage system for those. Bear in mind that you likely already have these types of chemicals in your home, usually in much larger quantities than those sold at HST. Some common flammable (red) chemicals are nail polish remover and rubbing alcohol. Bleach, drain cleaner, and oven cleaner are common corrosives (white). Toxins (blue) found in most homes include insecticides and weed killer. A common reactant (yellow) is hydrogen peroxide.
The red storage code means the chemical is flammable (ignites easily) and must only be stored with other flammable chemicals. White signifies a corrosive chemical (eats away many materials) and must only be stored with other corrosive chemicals. Blue signifies toxins, which are poisonous to humans and animals. Yellow signifies reactants (explosive and produces deadly vapors) and can be stored with blue. But these both need to be stored away from flammables and corrosives. Green signifies general storage, meaning that these chemicals can be stored with any other. Notice that while green can be stored with any color, you still must adhere to the other color’s storage codes (i.e. green may not be stored with red AND white, since flammables and corrosives are storage incompatible).
Quick-Reference Chemical Compatibility Storage Chart
| Storage code colors | Blue | Yellow | White | Red | Green |
| Blue (toxic) | X | X | X | ||
| Yellow (reactive) | X | X | X | ||
| White (corrosive) | X | X | |||
| Red (flammable) | X | X | |||
| Green (general) | X | X | X | X | X |


