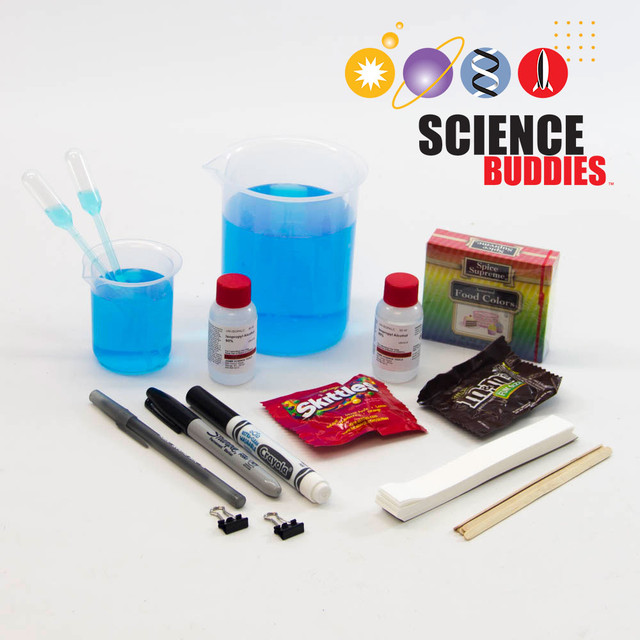
7 Steps for Candy Chromatography
The three primary colors for mixing dyes or paints are red, yellow, and blue. Other colors are often a mixture of these three colors. Do you think M&Ms and Skittles will have the same chromatograms? Find out with this easy and fun 7-step candy chromatography science project!
1. Prepare a salt water solution by mixing 1/8 teaspoon of salt into 3 cups of water, shaking or stirring until completely dissolved. This will be your chromatography solvent. Pour about 100 ml of salt water into the beaker.
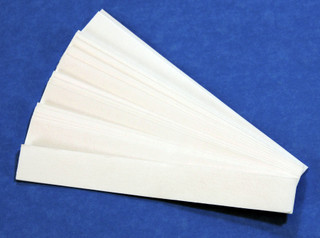
2. Get two pieces of chromatography paper, or cut out two 4×8 cm rectangles from the coffee filter. Mark a line in pencil 1 cm from the bottom of each. Use the pencil to label one for Skittles and one for M&Ms.
3. Sort the candies to find several matching colors: both packs should contain some red, orange, green, etc.
4. Use the pipet to put a single drop of water for each M&M color in the bottom of the petri dish. (Make sure the drops are evenly spaced.) Place an M&M on each water drop and set aside. The water will dissolve the candy coloring. Remove the candy after 1-2 minutes.
5. Repeat step 3 for the Skittles, this time using the lid of the petri dish.
6. Dab the end of a toothpick in one of the colored water droplets and apply the pigment to the filter paper. Apply 2-3 coats, letting the spots dry in between. Use a clean toothpick and repeat for each color.
7. Tape or clip the papers side-by-side (but not touching) to your pencil or ruler. Place the pencil or ruler over the mouth of the beaker. You want your papers barely touching the water. The paper will soak up the water and move up the paper. When the water nears the top, take the papers out, transfer them to a clean, dry, flat surface, and let them dry.
Dive Deeper
Examine your results. What colors do you see on your chromatogram? Are the two chromatograms similar? Where do you see differences? Look at the ingredient list on the packaging and see if some of the same dyes are listed. If the dyes overlap, what do you think might be the reason for different chromatograms?
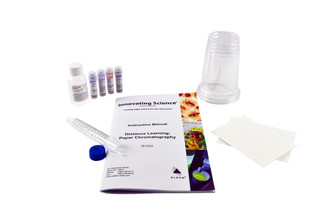
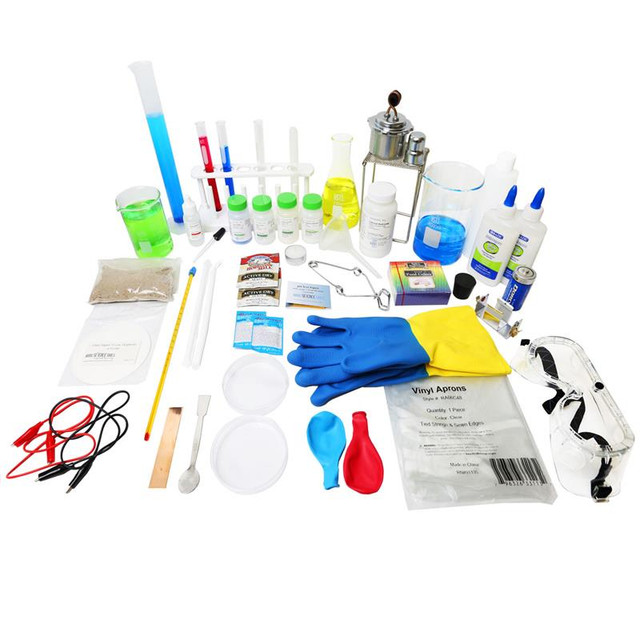
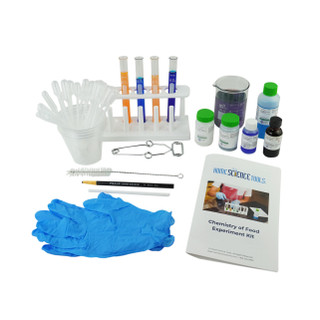
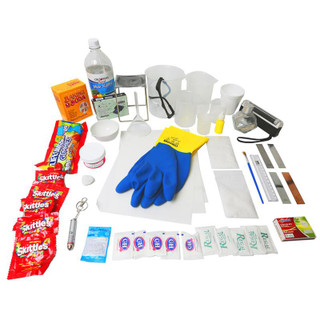
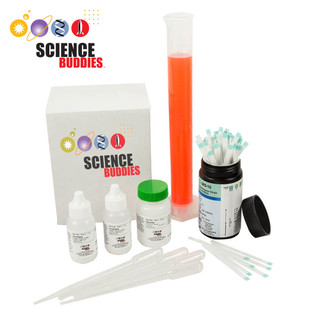
Chromatography Kits


Expanding Ghost Experiment in 6 Simple Steps
- Stretch the balloon out to make it easier to inflate
- Draw characteristics of a ghost on the white balloon such as eyes and a mouth
- In your flask, mix sugar in warm water
- Pour the yeast in so that it floats on top of the sugar water
- Attach the balloon to the mouth of the flask
- Watch the ghost inflate
Science Lesson
The yeast converts the sugar to ethanol and carbon dioxide in a process known as fermentation. Carbon dioxide is the same gas that makes soda pop fizzy, and ethanol is a type of alcohol. The yeast reacts with sugar in bread dough and releases carbon dioxide, which leaves air pockets as the dough bakes into bread. Here, the carbon dioxide released filled up all the space in the flask and kept rising to make the balloon stand up.

Make Your Potion in 4 Easy Steps
- Use the club soda to fill your glassware to your drinking level preference
- Add your blue raspberry syrup to the club soda
- Stir gently to mix, or do a “fancy” science swirl with the flask to mix
- Add your pop rocks into your drink
- Watch the chemical reaction
Science Lesson
When you mix Pop Rocks with club soda, a reaction occurs that can be visually and audibly entertaining. Pop Rocks are a carbonated candy that contains pressurized carbon dioxide (CO2) gas. When Pop Rocks come into contact with a liquid, especially a carbonated one like club soda, the gas is rapidly released, creating a fizzing and popping sensation.
The CO2 gas is released due to the pressure change when the candy dissolves in the liquid. This reaction can be accompanied by popping sounds and bubbles as the gas escapes.
Having Fun? Try These Variations!
- Experiment using different amounts of the blue raspberry syrup to observe the changes to taste and color
- Try other colors and flavored syrups
- Test how adding different amounts of Pop Rocks affects the reaction
- Put a balloon over the mouth of your flask with differing ratios of pop rocks to liquid. Observe how different ratios affect the balloon size as it blows up with CO2
More Food Chemistry Science Experiments

Vanishing Ghost Experiment in 5 Easy Steps
- Fill your bowl with room temperature water.
- Use your marker to draw spooky eyes and a mouth on your biodegradable packing peanut “ghost.” Your ghost must be a biodegradable packing peanut for the experiment to work.
- Place your “ghost” on top of the water
- Notice as bubbles begin to appear on the side of the ghost before beginning to disappear
- Repeat the experiment with different temperatures of water.
Science Lesson
Biodegradable packaging peanuts are made with starch and air. The starch dissolves - or breaks down into smaller pieces - when it comes into contact with the water. When the starch dissolves in the water, the air is released, and the ghost appears to disappear. Although it looks like your ghost has disappeared, the starch particles are spreading or dispersing through the liquid. As the concentration of starch decreases per square inch space so you can't see the individual starch particles easily.


Printable eBook Experiments and Lessons
Download these eBooks filled with fun lessons and hands-on experiments your kids will love!