Add 1 cup of water to your beaker.
1
Mix in 1 tablespoon of baking soda.
2
Add a spoonful of popcorn kernels to the mixture.
3
Carefully, add 1/2 cup of vinegar to the solution.
4
Science Lesson
Carbon dioxide gas is the product of the vinegar and baking soda reaction. The Carbon Dioxide Gas attaches to the candy and lifts it to the surface of the solution. The Carbon Dioxide bubbles pop when they reach the surface. Because the corn is too dense to float, they sink back to the bottom.
Home Experiments Kids Love


Turkey Family Genetics Lesson
Do you have brown eyes, blue, or green? Where do you think your eye color came from? Does one of your parents share the same eye color?
Now, let’s take a look at your Turkey Family. Do Mommy Turkey and Daddy Turkey have similar eyes? What about their bodies? Mommy Turkey and Daddy Turkey both have the same color wattle and it’s on the same side of their beaks. Because Mommy Turkey and Daddy Turkey share these characteristics, Baby Turkey will also likely have the same eyes and body as their parents.
On page 3 of the Turkey Family Genetics activity cut out the body and eyes that Baby Turkey should have. Using your glue stick, paste the body and eyes in the “Turkey Baby” space on page 2.
Next, let’s look at Mommy Turkey and Daddy Turkey’s legs. What’s similar about them? Both Mommy Turkey and Daddy Turkey have legs that face outwards. Cut out the legs that best match both turkey parents and paste them on Baby Turkey.
Finally, we will examine the feathers on Mommy Turkey and Daddy Turkey. What colors do they have? Do they share any colors? How many feathers do they each have? What color feathers would Baby Turkey have?
Cut out 9 feathers and paste them onto Baby Turkey. Baby Turkey will definitely have red feathers since both Mommy Turkey and Daddy Turkey have the red feather trait. Baby Turkey can have any combination of green and orange feathers too (for example: 5 red feathers, 2 green feathers, and 2 orange feathers).
The activity is now complete! For more fun, add googly eyes to Baby Turkey and use coloring tools to create a home for your Turkey Family.
Lesson Questions
Q: Why do the turkey parents look similar?
A: Because they are the same type of animal
Q: Why do the turkey parents look different?
A: Because they are different individuals with different traits given to them by their turkey parents. This is the same in people. We may look similar, but we are all individuals with our own unique traits.
Q: What similarities do Mommy Turkey and Daddy Turkey share?
A: Mommy Turkey and Daddy Turkey have similar body shapes, wattles, feet, and red feathers.
Q: What unique traits does Mommy Turkey have? What about Daddy Turkey?
A: Mommy Turkey has green feathers. Daddy Turkey has orange feathers.
Q: Why does Baby Turkey have the traits that it has?
A: Baby Turkey inherited its traits from its turkey parents. Baby Turkey has the same body, eyes, and legs as its parents. Baby Turkey’s feathers are a combination of colors from both parents.
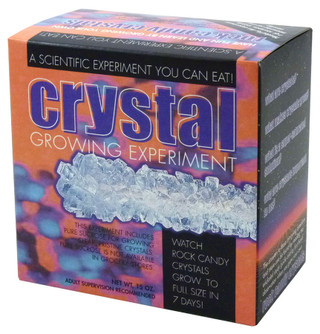
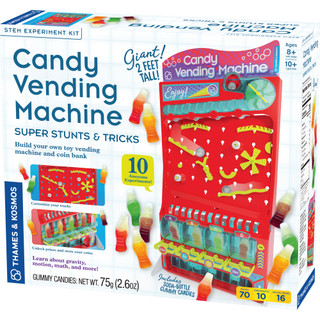
Discover Genetics with These Kits


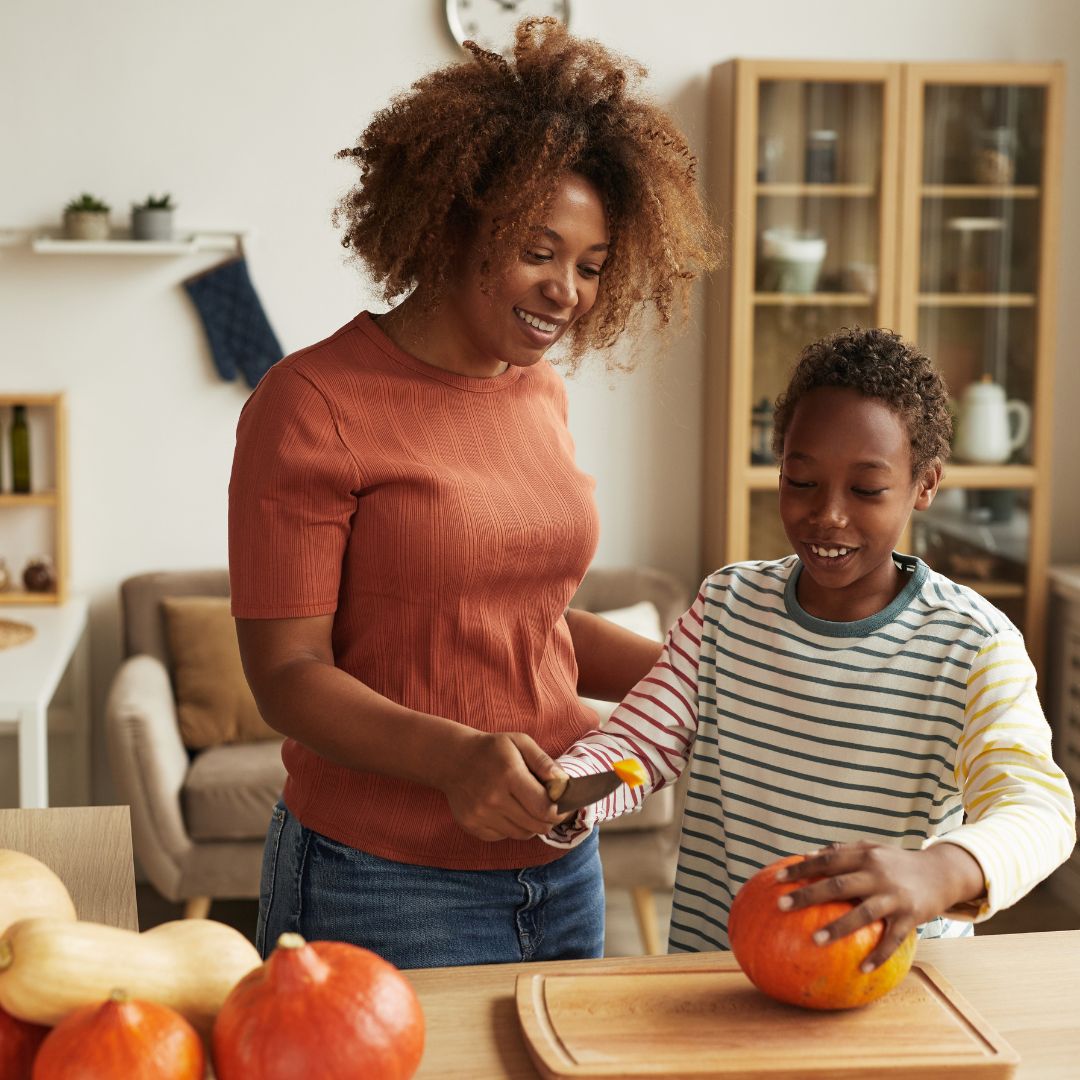
6 Easy Steps to Make Pumpkin Petri Dishes
- Cut a pumpkin into pieces that will fit inside the ziplock bags, placing one piece of pumpkin in a bag. The size of these pieces of pumpkin is not important; just make sure they fit in the bags and the pieces are fairly uniform in size.
- Close the ziplock bags most of the way (the environment needs to be moist, yet fresh air needs to enter.)
- Place the bags in various areas around the house such as the refrigerator, a sunny area, a shady area, a warm area, a dry area, a moist area, etc. (You may want to label each bag with its location)
- After choosing the locations for your pumpkin petri dishes, predict which pumpkin will grow the most mold during the course of the experiment.
- Each day, look at all your pumpkin samples and record how much mold has grown on each piece.
- Print out and use the charts below to record your pumpkin petri dish data.
Lesson Questions
- When did the mold start to grow on pumpkin section 1? Pumpkin section 2? And so on.
- How would you compare the growth of mold on pumpkin section 1 to that of pumpkin section 2?
- How is temperature/time related to the growth of the mold?
- What could you do to minimize the growth of mold?
- What could you do to maximize the growth of mold?
- How would you apply what you learned to where we should keep our food?
- How would you adapt this experiment to create a different experiment?
Popular Kitchen Science Products

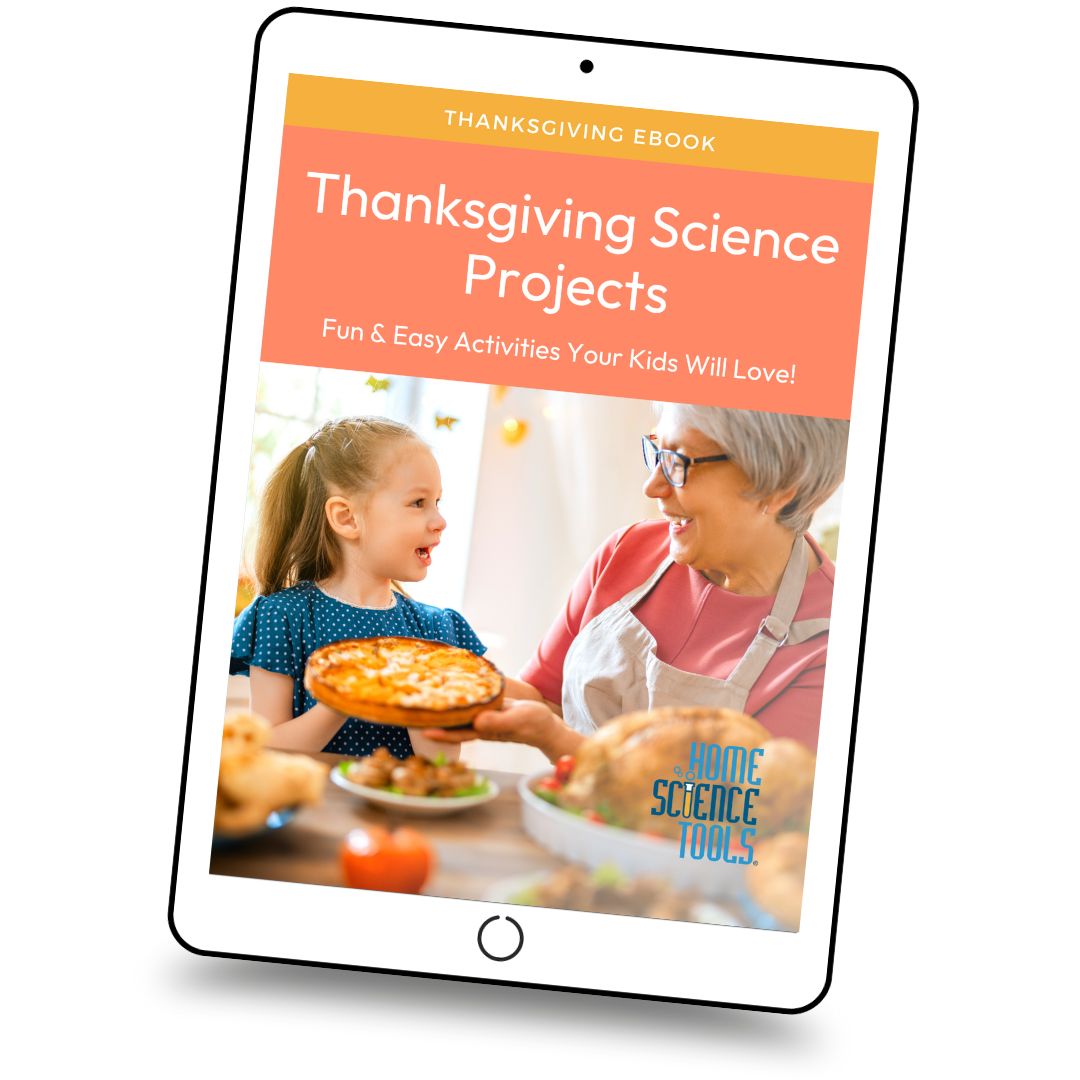
Thanksgiving Science Experiments
Free Science eBook
WHAT'S INCLUDED?
› 3 Thanksgiving Dinner Experiments
› Turkey Anatomy Worksheet
› Thanksgiving Word Search
› DIY Butter
› Dancing Popcorn
› Turkey Family Genetics
› Pumpkin Petri Dishes