

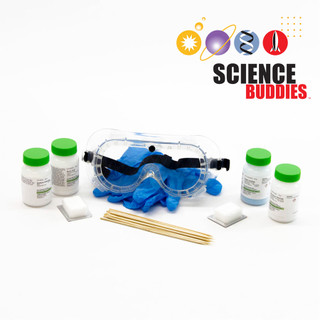
Rainbow Fire Kit
$46.95
Unlock chilling experiments that blend fright with fun, while discovering the science behind the spooky.
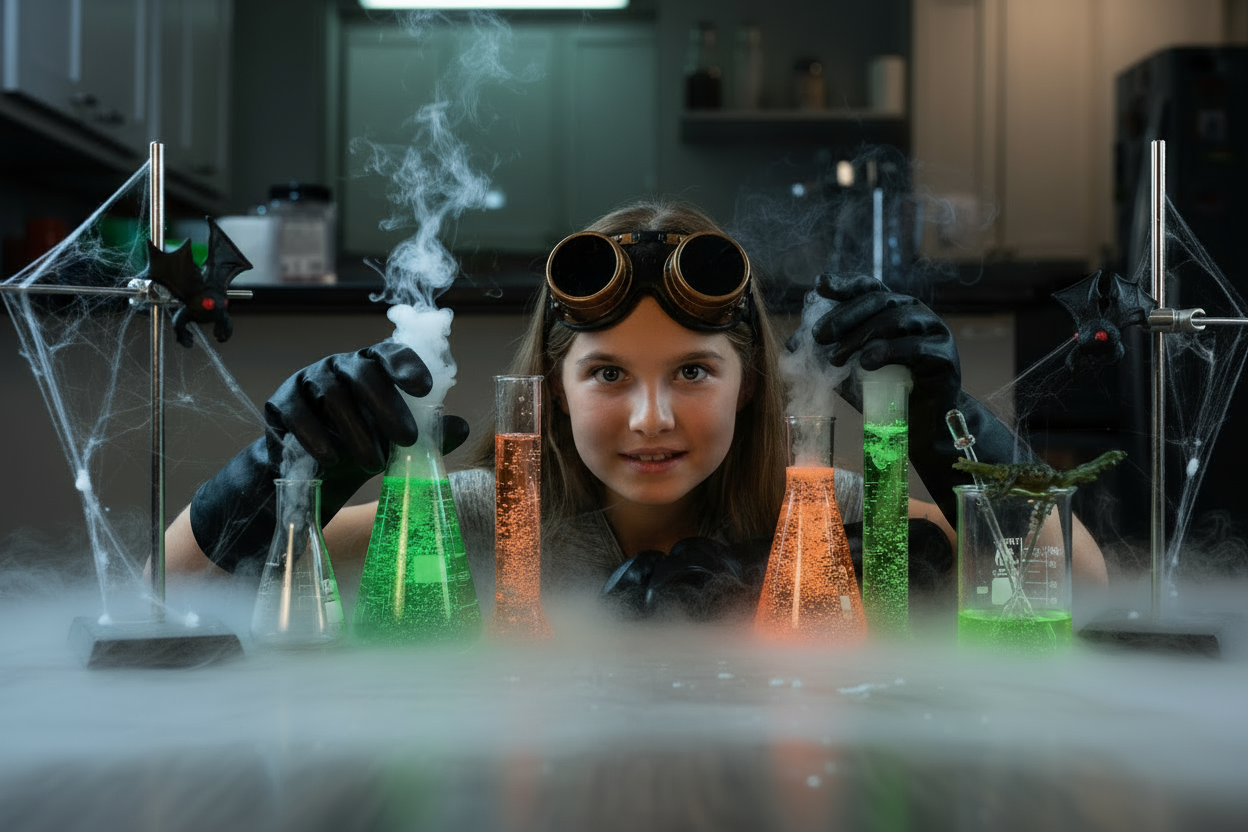
Step into our haunted lab and unlock spine-tingling science — if you dare.
Each of the 13 experiments reveals a new trick (and treat) of chemistry, biology, or physics.
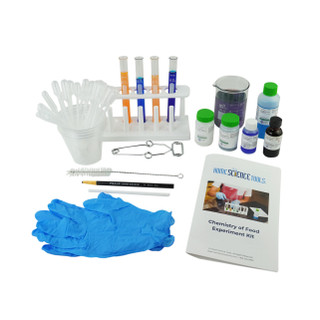
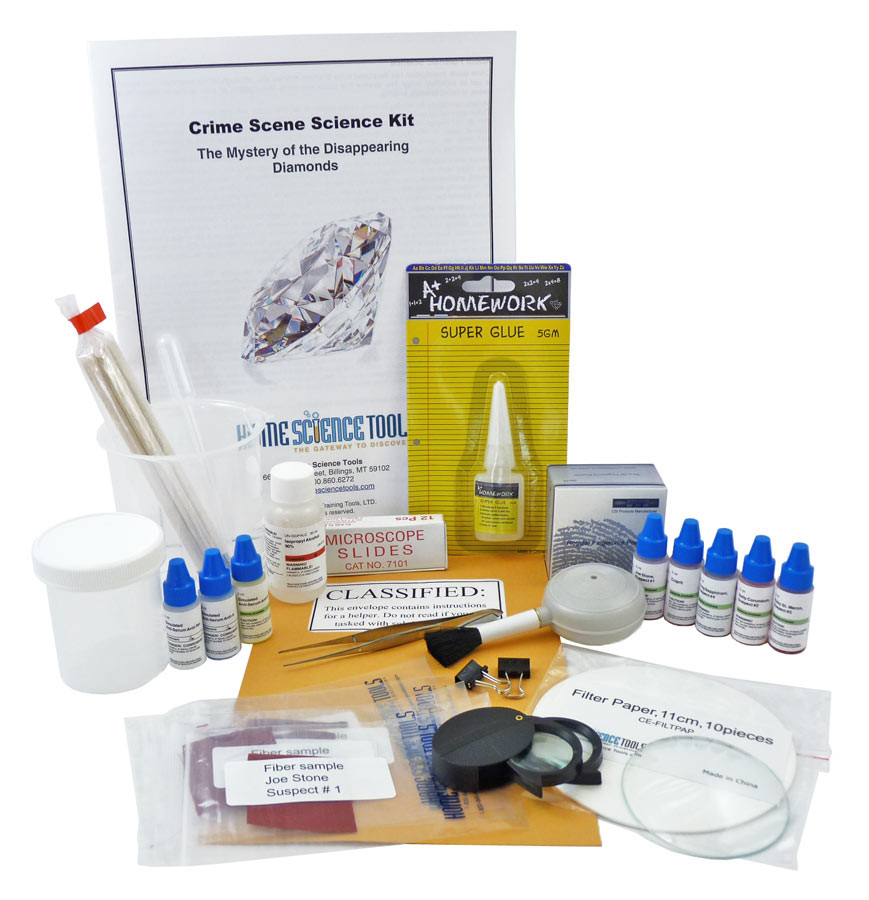
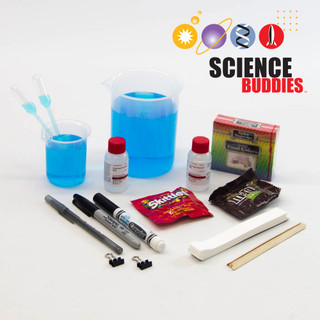
Every mad scientist needs the right gear.
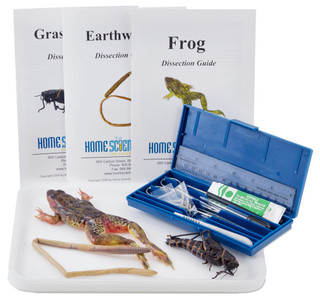
From eerie dissections to candy chemistry, stock your lab with supplies
to keep the thrills (and learning) going.

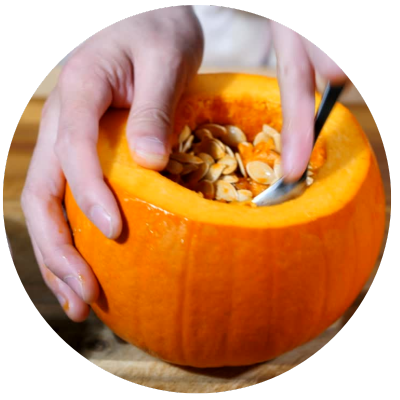
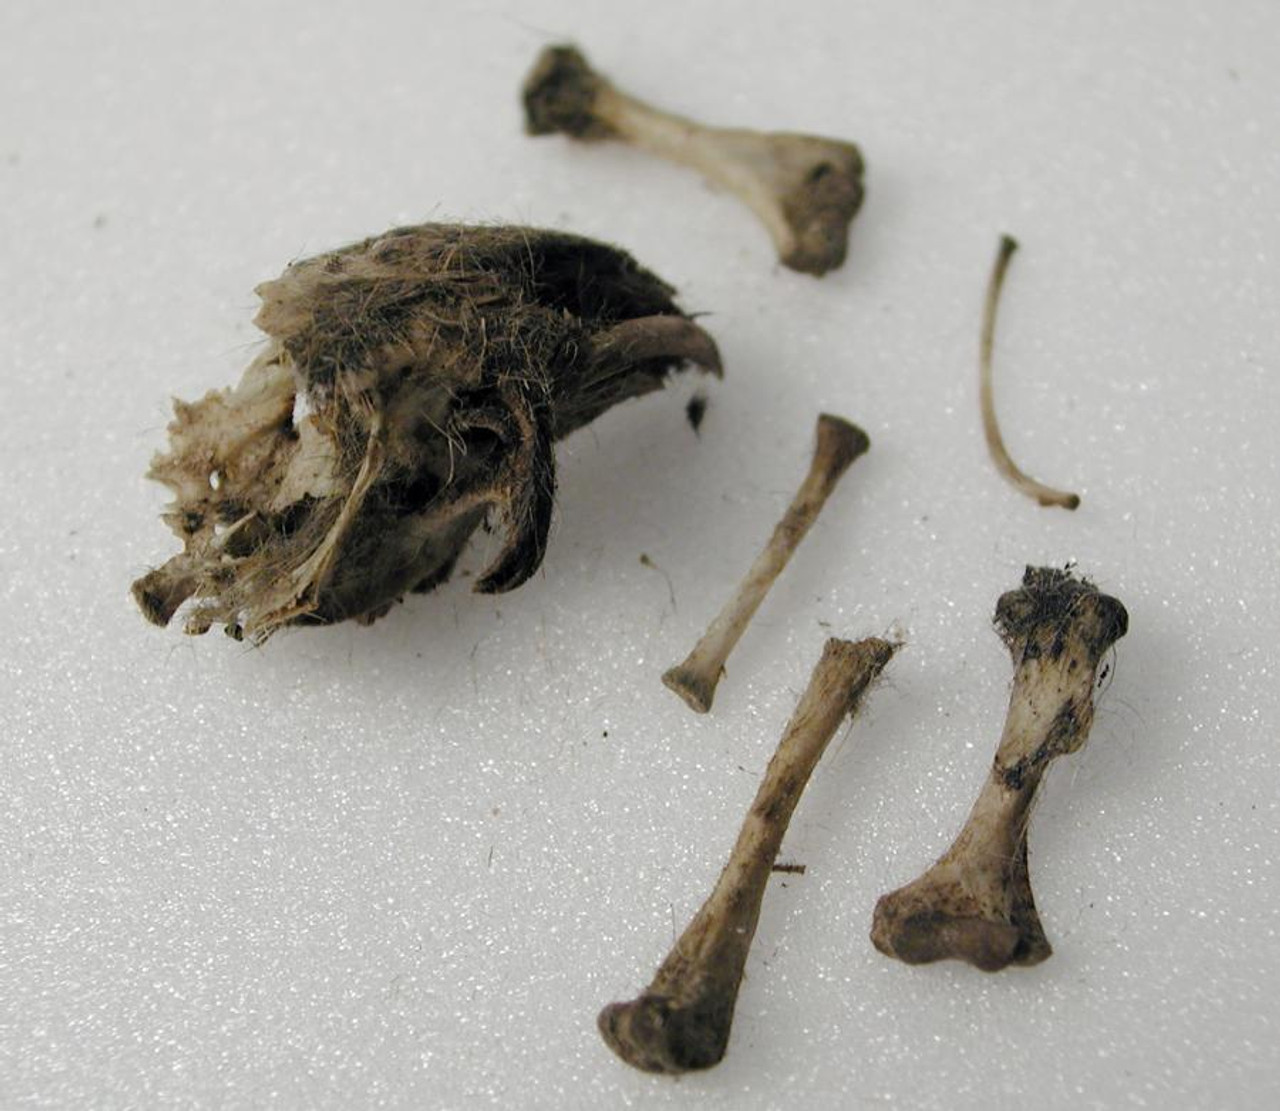
EXPERIMENT #3

When the moon rises, owls take to the night, leaving behind mysterious little packages.
EXPERIMENT #5
Think Skittles are just for snacking? Think again.
This experiment proves that sweets can speak science!
EXPERIMENT #7
Get ready to uncover the hidden rainbow inside your favorite sweets. Spoiler Alert: Our candy is more colorful thank you think!
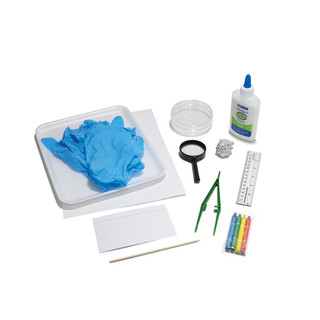
EXPERIMENT #8
Not all monsters have fangs — some are microscopic!
Grow your own colonies and see what invisible creatures lurk on everyday objects.
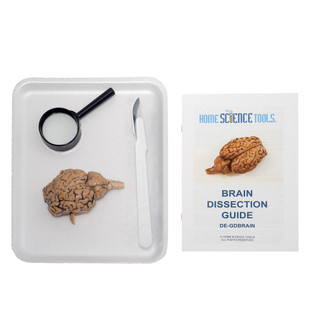
EXPERIMENT #9
What’s Halloween without a little brain talk?
Trace the folds and grooves, peek at the lobes that control movement, memory, and more.
EXPERIMENT #10
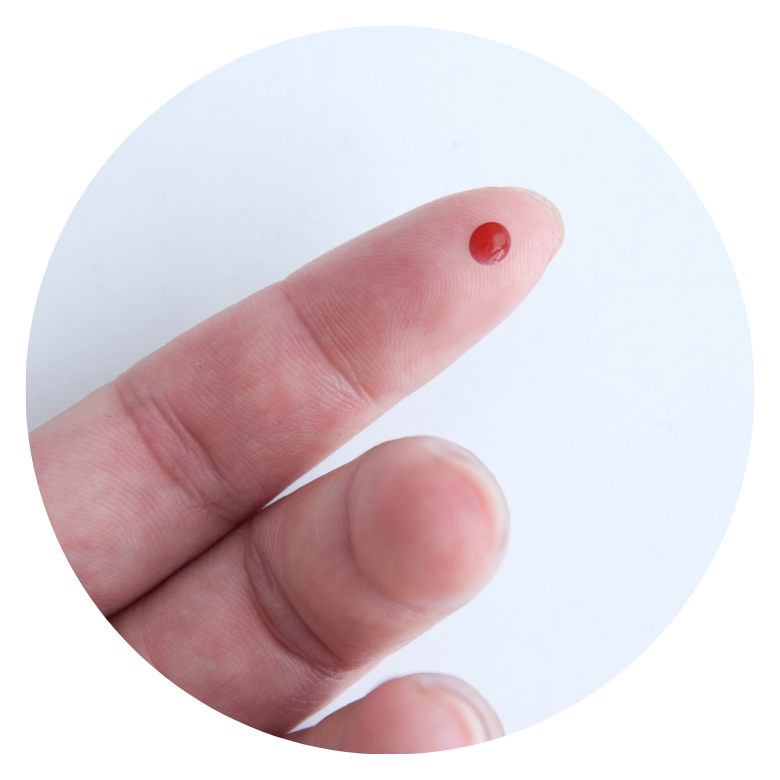
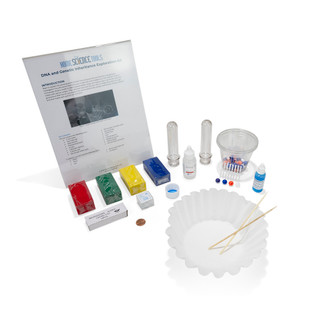
If incompatible blood is mixed, it can mean the difference between life and death. Explore different blood types, compatibilities and incompatibilities.
EXPERIMENT #11
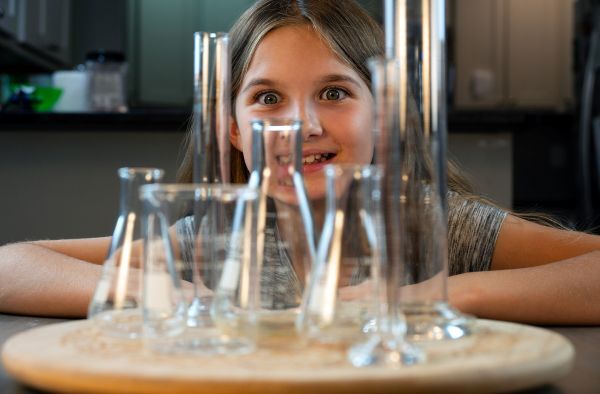
Do you see ghosts, or just tricks of the light?
Bend reality with optical illusions and discover how your brain can be fooled!
EXPERIMENT #12

Most substances get denser when they freeze, but water breaks the rule.
You’ve reached the final frontier of the 13 Spooktacular Experiments.
Only the most devoted scientists — the ones who dared to dissect, mix, and glow — make it this far.
And now, the lab belongs to you.
Behold — the Legendary Lava Lamp.
EXPERIMENT #13
A retro relic reborn through the power of science.
Watch as molten color rises and falls, hypnotic and haunting, alive with energy.
Each bubble, a celebration of your curiosity. Each glow, proof that you’ve mastered the mysteries of Spooktacular science.