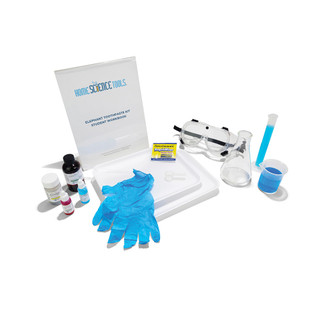
Chemistry project

Chemistry project

Make a Lava Lamp

You know the mesmerizing feel of watching a lava lamp, with its large colored bubbles sinking, rising, and morphing? The action you see is actually a fun science experiment as it's caused by the density and polarity of the substances. With this project, you can make your own (temporary) DIY lava lamp with household materials!

What You Need:
  • Flask or empty water bottle (a clear plastic bottle works well)
  • Vegetable oil, cooking oil, or baby oil

What You Do:
  1. Fill the flask most of the way with your choice of oil.
  2. Fill the rest of the flask with water. The oil floats and the water sinks to the bottom of the jar under the oil and looks like little, clear blobs.
  3. Add a few drops of food coloring; your choice of color. The food coloring is water-based, so it will also sink and color the water that is now at the bottom of the flask.
  4. Break an Alka-seltzer tablet into a few small pieces, and drop them in the flask one at a time.
  5. Watch your lava lamp erupt into activity! As the chemical reaction slows down, simply add more Alka-seltzer.

Science Lesson

A lava lamp works because of two different scientific principles: density, and polarity.

Concept 1: Density

Density is the measurement of how compact a substance is - how much of it fits in a certain amount of space.

(The scientific equation is density = mass/volume.)

If you measure an equal volume of oil and water, you'll find that the water is heavier than the same amount of oil. This is because water molecules are packed more tightly; a cup of water actually has more mass than a cup of oil.

Because water is more dense than oil, it will sink to the bottom when the two are put in the same container. Density is affected by temperature—the hotter a liquid is, the less dense it will be.
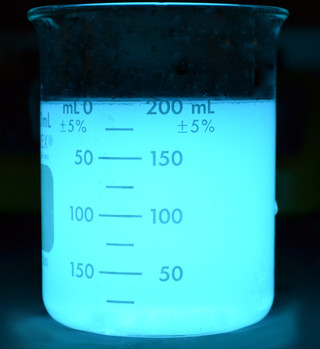
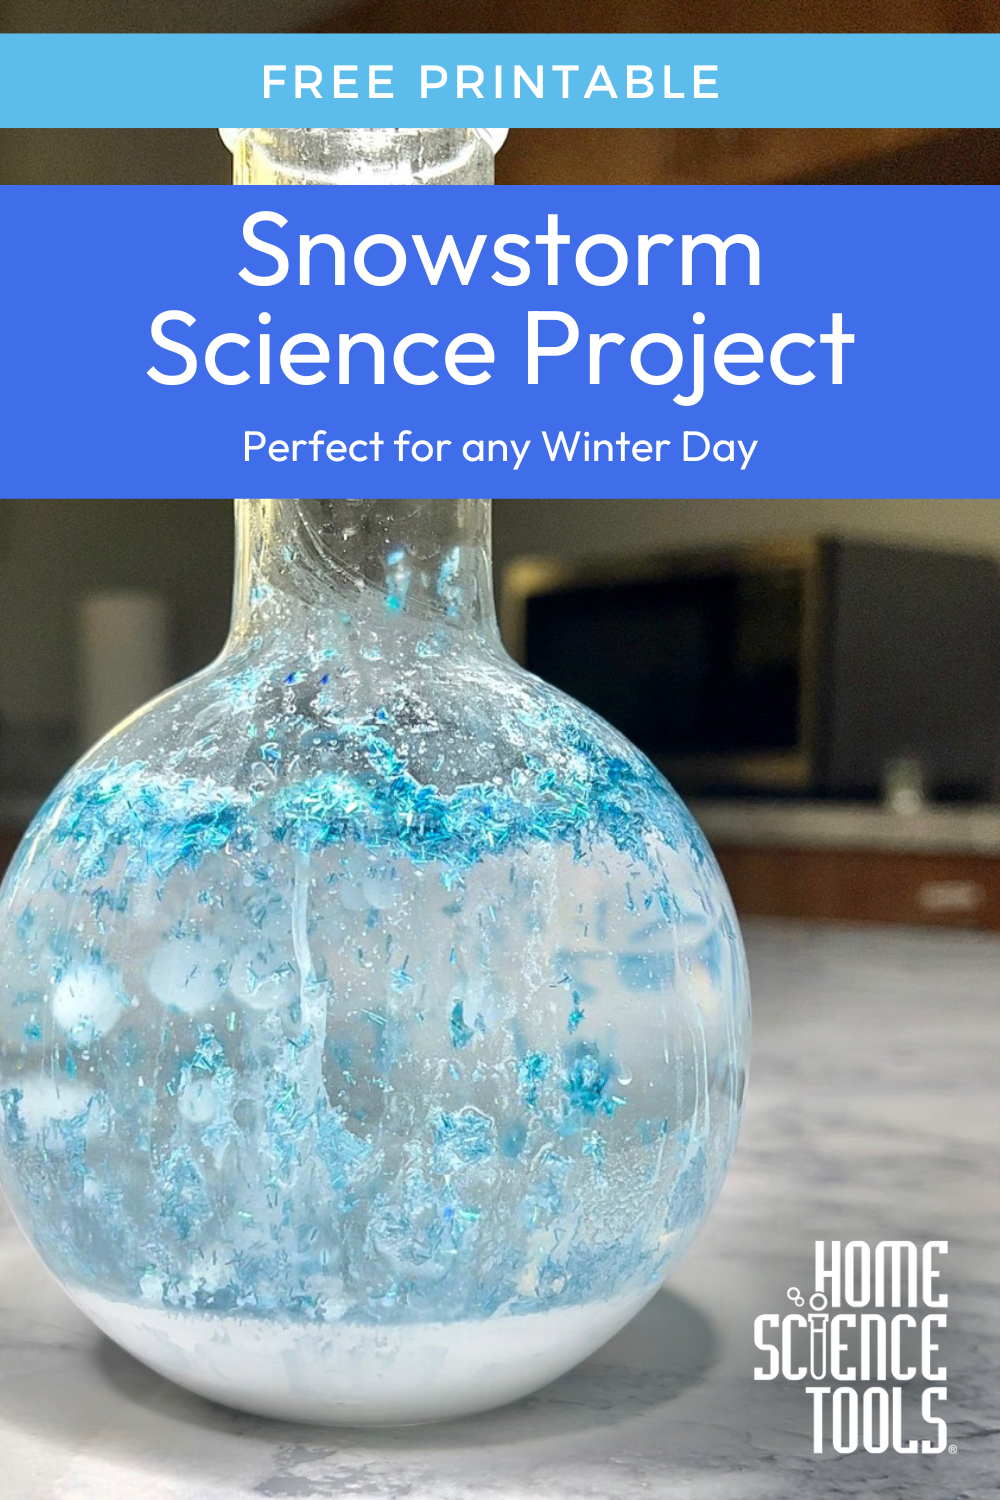

Concept 2: Polarity

Polarity is the quality of having two oppositely charged poles.

Water molecules are "polar" because they have a lopsided electrical charge that attracts other atoms. The end of the molecule with the two hydrogen atoms is positively charged. The other end, with the oxygen, is negatively charged.

Just like in a magnet, where north poles are attracted to south poles ("opposites attract"), the positive end of the water molecule will connect with the negative end of other molecules.

Oil molecules, however, are non-polar— they don't have a positive or negative charge, so they are not attracted to the water molecules at all. This is why oil and water don't mix!

What Happened:

Real lava lamps use a polar and non-polar liquid just like our homemade one did. In a real one, however, the densities of the liquids are much closer together than vegetable oil and water. The denser liquid sinks to the bottom, but the lava lamp light heats it up until it expands and becomes less dense, causing it to rise upward. As it gets farther from the light, it cools down, becoming denser again until it sinks; then the cycle starts all over. Instead of using a light, in our homemade lava lamp, we used Alka-seltzer to assist in moving the molecules of the liquids the lamp. The Alka-seltzer reacts with the water to produce carbon dioxide gas bubbles. These stick to the water droplets. The water / gas combo is less dense than the oil, so they rise to the top of the flask. At the top, the gas bubbles pop and escape into the air, allowing the dense water to sink back to the bottom again. Lava lamps powered by heat are trickier to make and can use more hazardous materials. You can experiment fairly safely with things like rubbing alcohol and mineral oil or lamp oil. See if you can make a lamp powered by heat!
If You Like This Project, You'll LOVE These Kits


Lava Lamp variation

Lava Lamp variation

Snowstorm in a Boiling Flask

You know the mesmerizing feeling of watching the snow fall during a snowstorm? With this project, you can make your own snowstorm in a flask using an adaptation from the lava lamp science experiment! It’s a perfect project for any winter day.
What You Need:
What You Do:
  1. Mix about 1tsp of white paint with about 100 ml of water
  2. Add a generous amount of glitter to the mixture
  3. Pour the white, glittered water into the boiling flask (or any clear glassware). This should fill your glassware about 1/5th full
  4. Fill the rest of the glassware with baby oil. The clear baby oil is less dense than the water mixture and will stay on top
  5. Break an alka-seltzer tablet into a few small pieces
  6. Drop the alka-selzer pieces in the flask one at a time.
  7. Watch as the snowstorm appears!
  8. As the reaction slows down, simply add more alka-seltzer.

What Happened:

Just like in the lava lamp project our homemade snowstorm was created when we used alka-seltzer to react with the water to produce carbon dioxide gas bubbles. These stick to the water droplets. The water / gas combo is less dense than the oil, so they rise to the top of the flask. At the top, the gas bubbles pop and escape into the air, allowing the dense water to sink back to the bottom again. Refer to the science lesson from the lava lamp project above or print this free lesson. 


Printable Project

Pin This Project

More Projects You'll Love