Experiment #1: Sink or Swim
What You Need:
- 3 150 mL beakers (or use glass jars or clear plastic cups)
- water
- corn syrup
- vegetable oil (you can also experiment with various types of oil, i.e. olive oil, lamp oil, baby oil)
- several small objects - raisins, paperclips, pennies, small corks, etc.
What You Do:
- Write down what you think will happen when you place each object into the three different liquids based on your guess of the density of liquids. Because these liquids will have different densities, there will be a density tower, or different layers, that are visible, sort of like being able to see ice cubes (frozen water) in room temperature water.
- Pour 150 mL of water into beaker #1, 150 mL of corn syrup into beaker #2, and 150 mL of vegetable oil into beaker #3. (If you are using glass jars, use 2/3 cup of liquid, which is approximately 150 mL.)
- Gently set a raisin in each beaker. Does it sink or float? Write down what happens to the raisin in each beaker.
- Take the raisins out of the beakers and try a different object, such as a paperclip or cork. Record what happens in each beaker.
Science Lesson
Were your predictions right? Did the raisins and other objects sink and float when you expected them to? Did they float in one liquid and sink in another? Why do you think they acted the way they did?
The less dense liquid will float on top of the more dense liquid. If one of your objects floated in the corn syrup but sank in the water, what does that tell you about the densities of water and corn syrup? Take the experiment a step further to find out more.
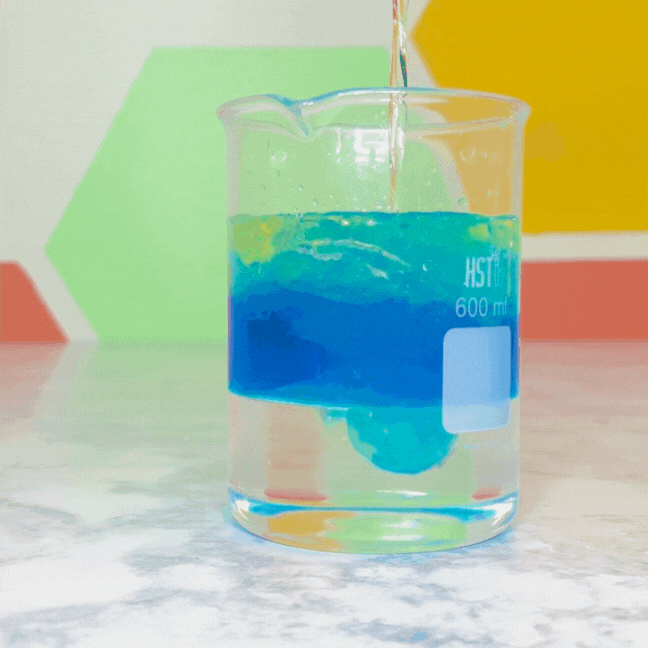
Experiment #2: Mix it Up
What You Need
- 600 mL beaker (or use a large jar)
- water
- corn syrup and/or maple syrup
- vegetable oil (you can also experiment with various types of oil, i.e. olive oil, lamp oil)
- food coloring
What You Do
Which is the most dense: water, corn syrup, or vegetable oil? Which is the least dense? Based on your results from experiment #1, predict which liquid you think is the most dense and which you think is the least dense.
- Place a few drops of food coloring into the beaker of water so you will be able to tell it apart from the other liquids. (This is not necessary if you are using dark corn syrup.)
- Carefully pour 200 mL of each of the liquids into a 600 mL beaker or a large jar. Let them settle.
- What happened? Did the three liquids mix together or separate into layers? Which liquid is at the bottom of the jar? Which is at the top?
Science Lesson
Was your prediction right? If so, the liquid you thought was the most dense should be at the bottom of the jar. The next dense will float on top of that, and the least dense will float at the very top.
Now you know how the densities of the three liquids compare to each other. If you want to find out the approximate density of each, you can calculate it using this formula: Density = Mass/Volume.
On Earth, we measure mass (how much of a substance there is) by calculating weight (how heavy it is). Weigh each liquid in grams (make sure you subtract the weight of the beaker!) and then divide that number by the volume (number of milliliters) of the liquid.
The answer is density in grams (g) per milliliter (mL).
(Your answer will be more exact if you use a graduated cylinder instead of a beaker to measure the volume and weigh the liquid.)
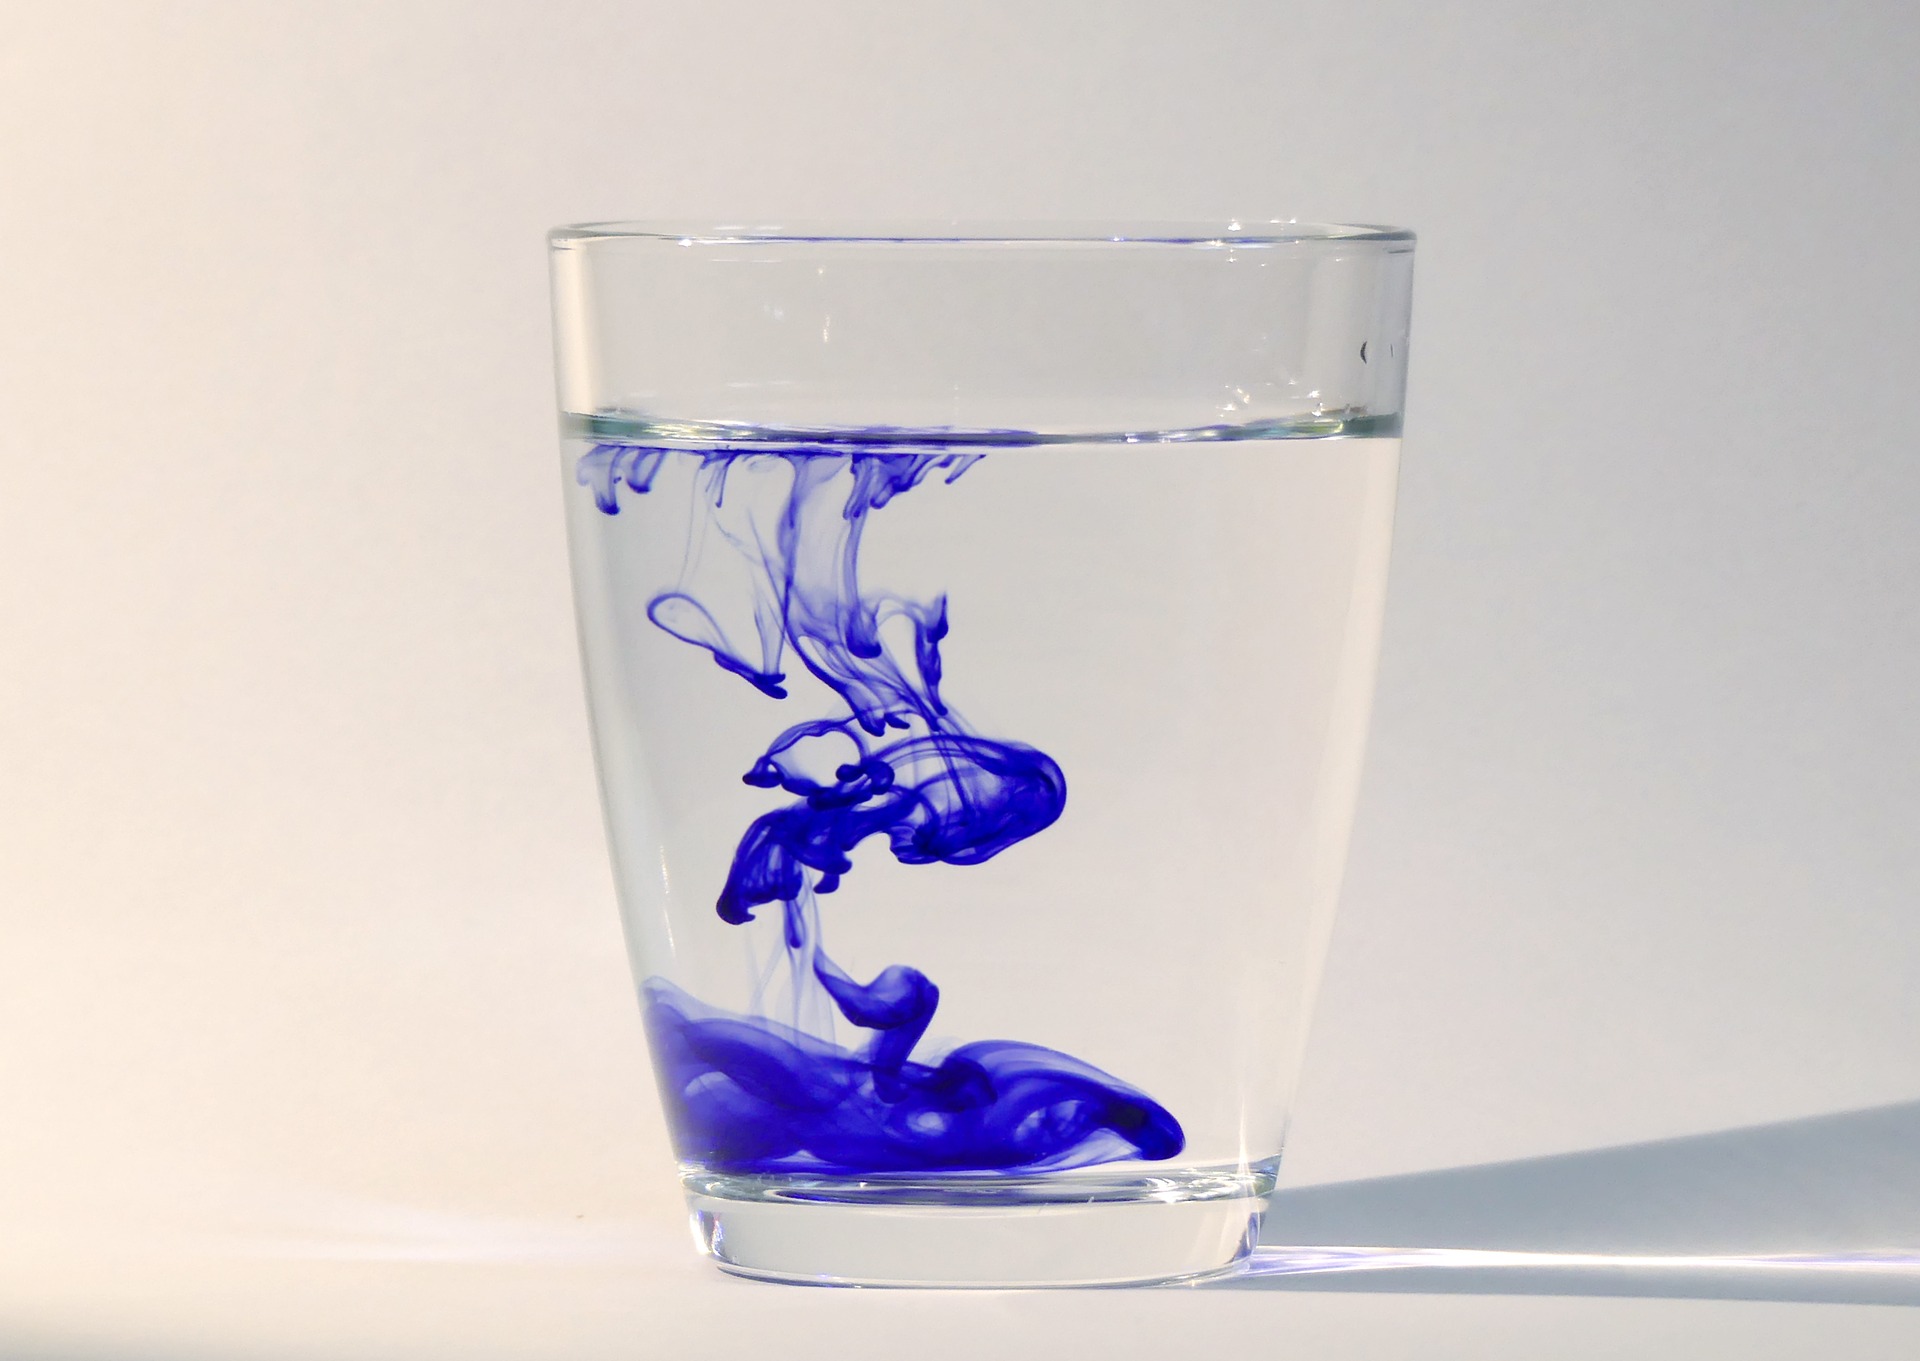
What You Do:
Does temperature change the density of water? Write down what you think will happen when you mix cold water and hot water.
- Fill two beakers with 150 mL (2/3 cup) of water. Put several drops of blue food coloring in one beaker, and several drops of red in the second.
- Add a handful of ice to the blue water and put it in the refrigerator for a few minutes.
- Put the red beaker in the microwave for a minute.
- Take the blue beaker out of the fridge and the red beaker out of the microwave.
- Pour some of the blue water into the 10 mL graduated cylinder or narrow glass.
- Using a pipet, slowly add red water a drop at a time and watch what happens. (This part may take a little practice—if you add the red water too fast you will force the colors to mix. Hold the pipet near the surface of the water and keep trying until you get it!)
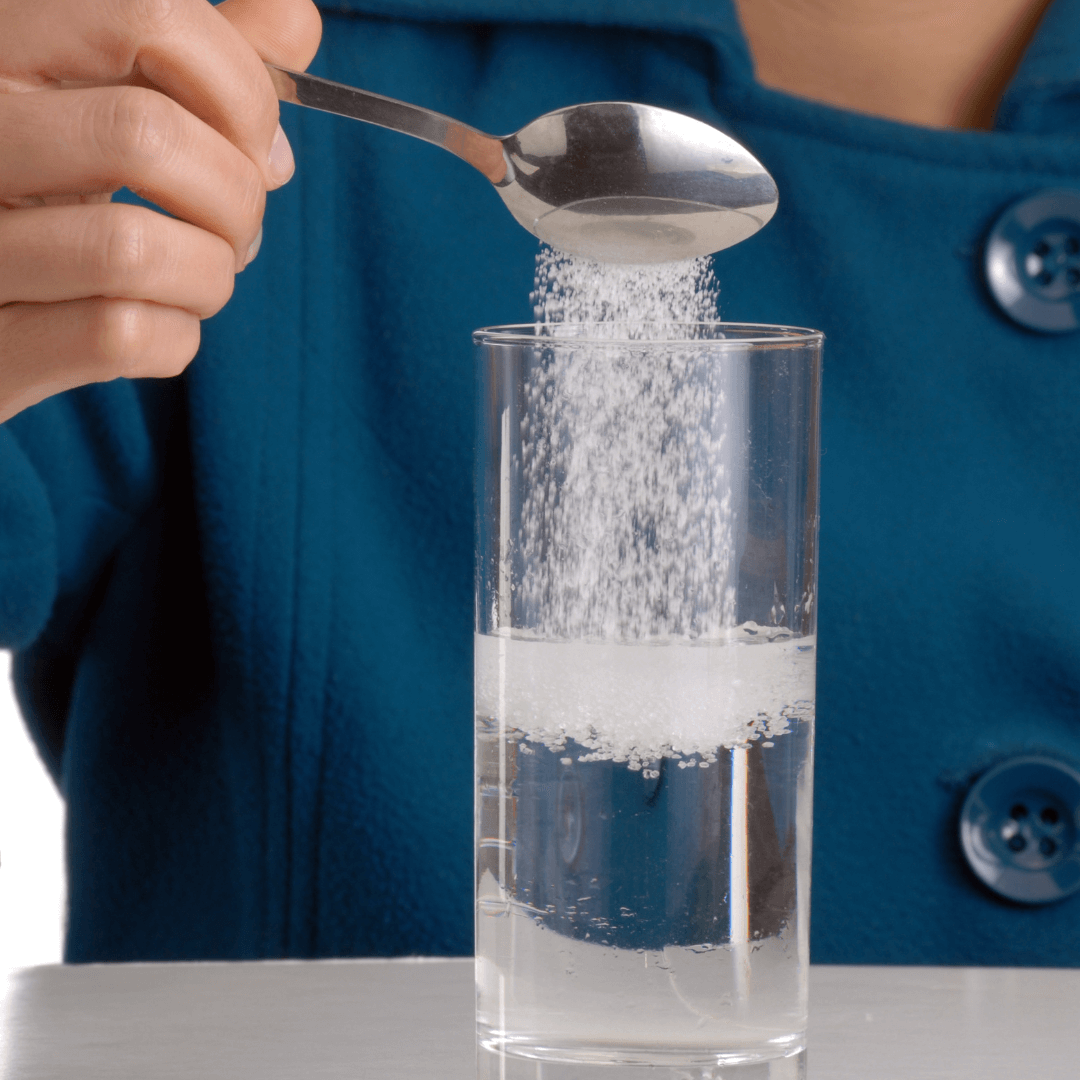
What You Do
Will adding salt make the water more dense? Will adding sugar make the water more dense? Which is more dense, sugar water or saltwater? Write down what you think will happen to the density of water if you add salt or sugar.
- Fill three beakers with 150 mL (2/3 cup) of water. Add food coloring to make blue, red, and green water.
- Add 2 teaspoons of salt to the red beaker and stir until the salt is dissolved. Add 2 teaspoons of sugar to the blue water and stir until it is dissolved.
- Try putting a raisin in each of the beakers. Does it float? Remove the raisins with a spoon.
- Pour some of the red (salty) water into the graduated cylinder. Using the pipet, slowly add the blue (sugar) water one or two drops at a time. Record which sinks to the bottom and which floats on top.
- Add the green (pure) water drop-by-drop to the other two and record what happens.
Great Science eBooks