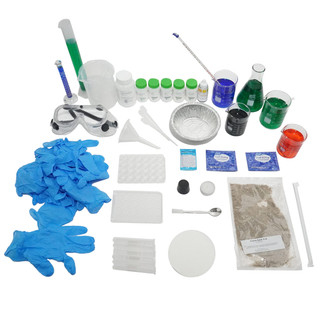
The glue has an ingredient called polyvinyl acetate, a liquid polymer. A polymer is a complex molecule with a repeating pattern of monomers. A monomer is a molecule that can join others to make more complex molecules. The boric acid in the contact solution is an activator that links the polyvinyl acetate monomers to each other, creating one large, flexible polymer.
Did you know you can make your own slime or “goop” for a fun learning and play activity? Non-Newtonian fluids are fascinating for all ages and provide a great learning opportunity about chemistry. Click here to explore how to make four popular slime recipes.

1. Twist pipe cleaners into whatever shape you’d like (we chose a simple star). Note: Make sure your pipe cleaner shape will fit easily into your jar with plenty of space around the mouth of the jar as the shape will be slightly wider once crystals have formed on it, making it harder to remove!
2. Tie a piece of string to one point of the shape. Tie the other end around the middle of a pencil.

3. Hang the shape in the jar with the pencil resting across the mouth of the jar. Make sure that it hangs without touching any part of the jar. Take it out of the jar and set it aside.
4. Use a 1-cup measuring cup to count how many cups of water you need to fill your jar about 3/4 full. Then microwave the jar of water for 3-5 minutes or until it begins to boil. Have an adult carefully take the jar out using hot pads (the jar will be very hot!) and set it on a heat-safe surface.
5. For every cup of water you put in the jar, measure three tablespoons of Borax. Stir the Borax solution with a spoon until as much of it dissolves as is possible. If you don’t see any tiny pieces of Borax floating around in the jar, add another tablespoon and stir. This will make a saturated solution.

6. Hang your pipe cleaner shape in the jar so that it is completely covered in the solution. Let it sit overnight. Gently remove your now crystal-covered shape in the morning and let it dry by setting it in a dry glass.
7. Optional: To make colored crystals, use colored pipe cleaners and add 5-10 drops of food coloring to the solution in step five. To make your snowflakes glow in the dark, paint the pipe cleaner shape with glow-in-the-dark paint in step one and let it dry completely before continuing. Once the crystals have dried, cut off the string and tie a ribbon to one point of your crystallized shape to make a Christmas tree ornament! These ornaments are fairly sturdy and make lovely Christmas gifts for friends, teachers, or family members.
As in the rock candy project, you made a saturated solution of Borax, which is a chemical that forms crystals when the conditions are right. By mixing it with hot water and letting it cool and having something for the Borax (solute) molecules to attach to (the pipe cleaner shape), you gave the solution the right conditions to grow crystals! Once the crystals started to grow on your shape, more and more crystals formed around them. Ice crystals that real snowflakes are made of are not quite like these Borax crystals, but they do look sort of similar and they both are pretty and sparkle when light shines on them.
Real ice crystals are made only of water. The difference is that they are formed when water vapor in clouds freezes and falls to the ground as snowflakes! Frost is another form of ice crystals that you might see on windows and grass on cold mornings. To learn more about snow and ice crystals, check out our Snow and Hail article.
- White Paint
- Glitter (white or blue)
- Alka-seltzer
- Mix about 1tsp of white paint with about 100 ml of water
- Add a generous amount of glitter to the mixture
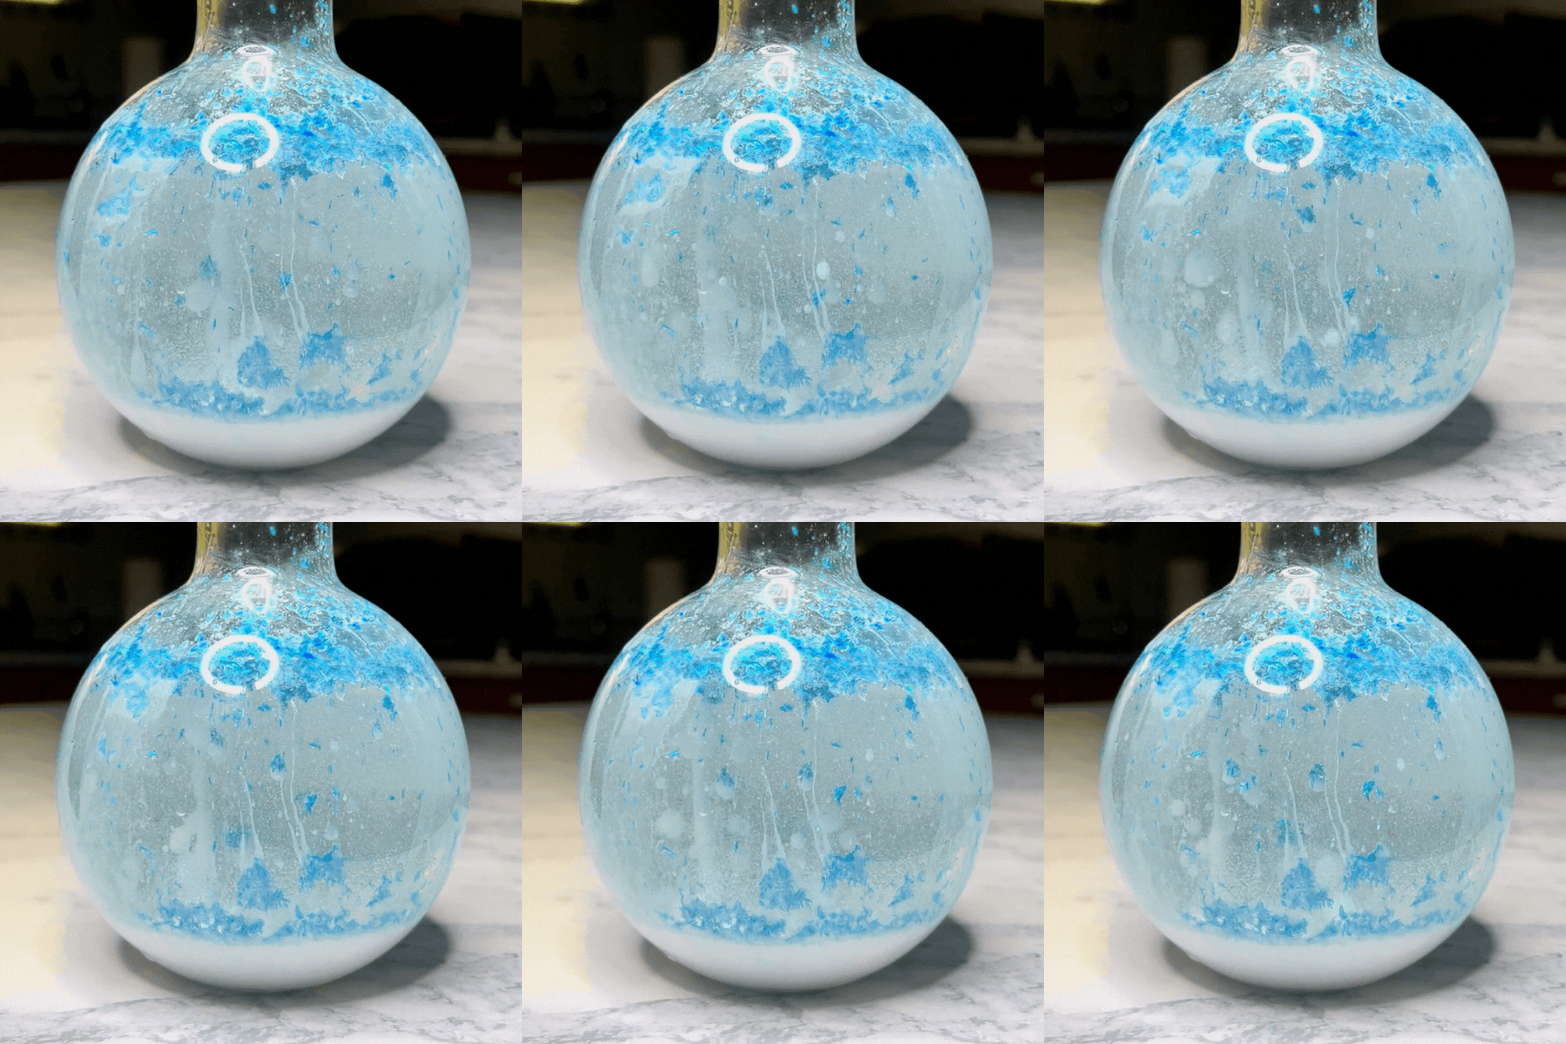
- Pour the white, glittered water into the boiling flask (or any clear glassware). This should fill your glassware about 1/5th full
- Fill the rest of the glassware with baby oil. The clear baby oil is less dense than the water mixture and will stay on top
- Break an alka-seltzer tablet into a few small pieces
- Drop the alka-selzer pieces in the flask one at a time.
- Watch as the snowstorm appears!
- As the reaction slows down, simply add more alka-seltzer.
Just like in the lava lamp project our homemade snowstorm was created when we used alka-seltzer to react with the water to produce carbon dioxide gas bubbles. These stick to the water droplets. The water / gas combo is less dense than the oil, so they rise to the top of the flask. At the top, the gas bubbles pop and escape into the air, allowing the dense water to sink back to the bottom again. Refer to the science lesson from the lava lamp project above or print this free lesson.


› Fluffy Snow Slime
› Snowstorm in a Boiling Flask
› Sparkly Crystal Ornaments
› Frozen Bubble
› Poinsettia pH Paper
› Snowman Science
› Fast Growing Crystals
› Frosty Can


